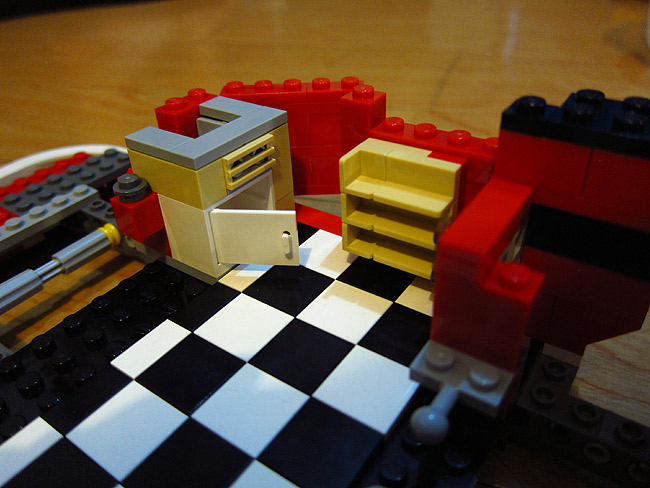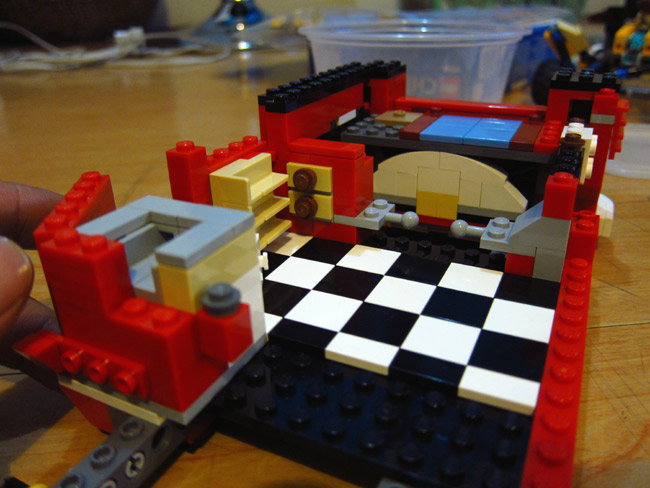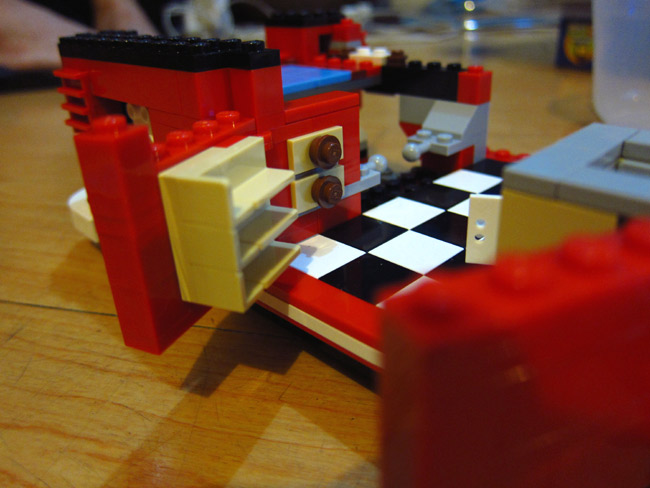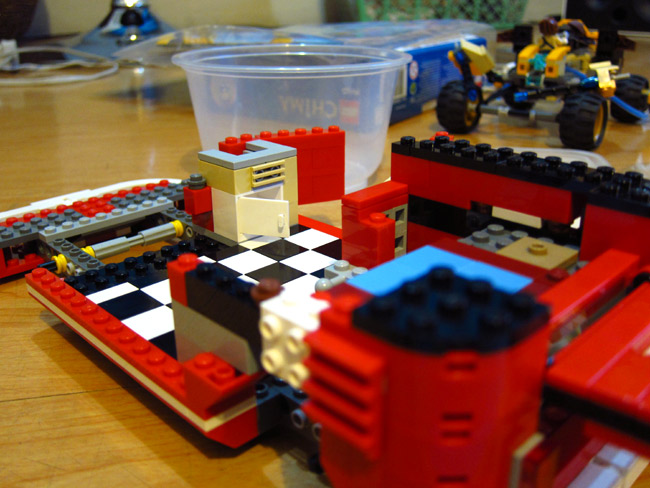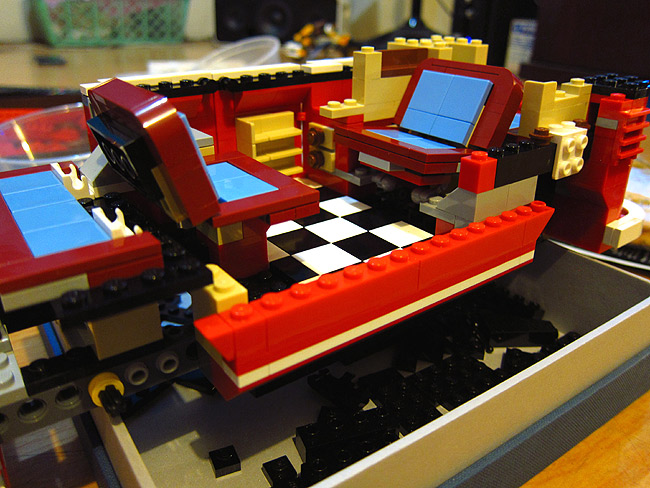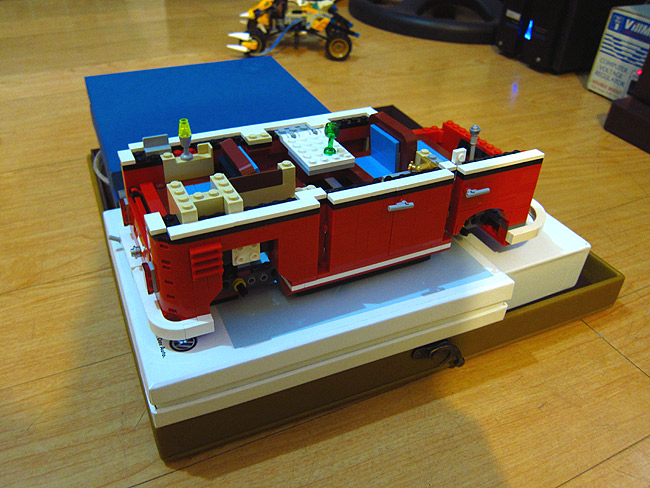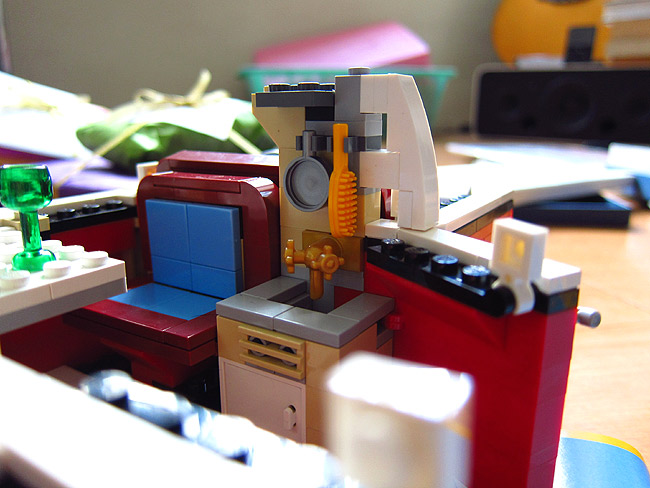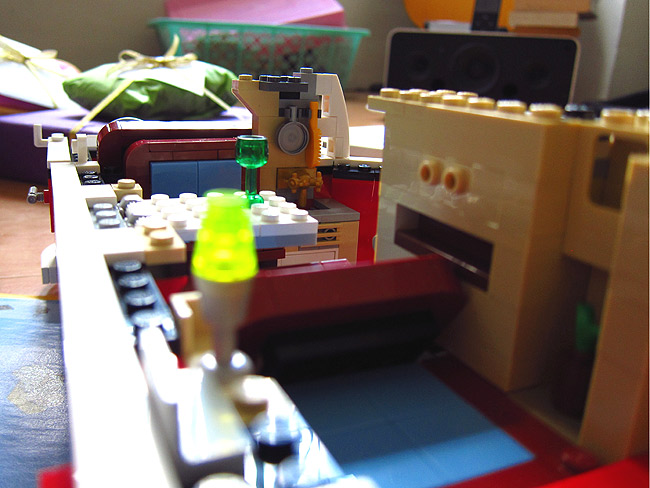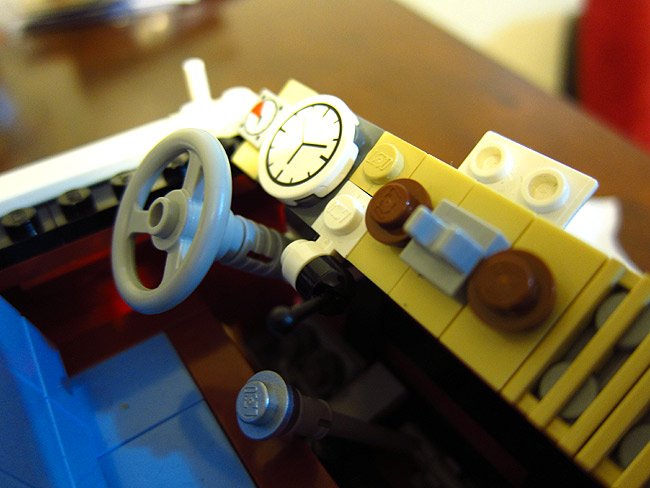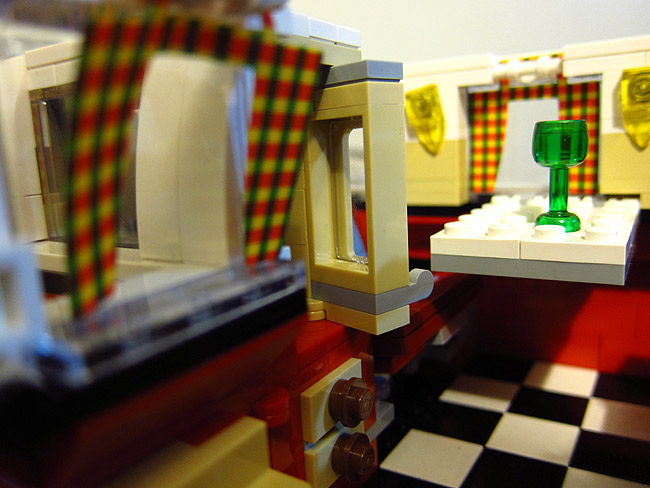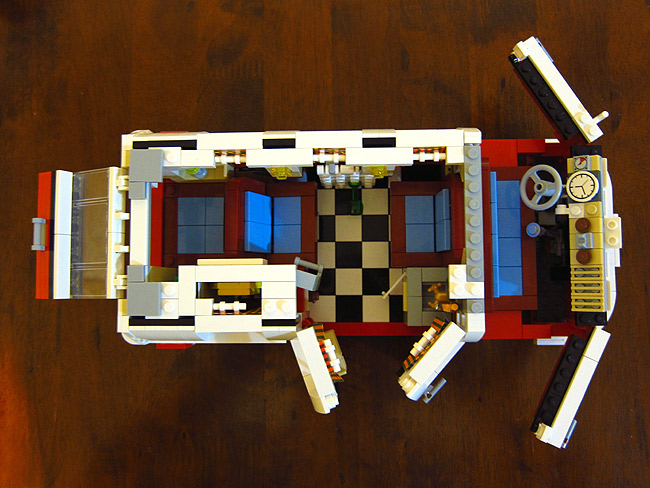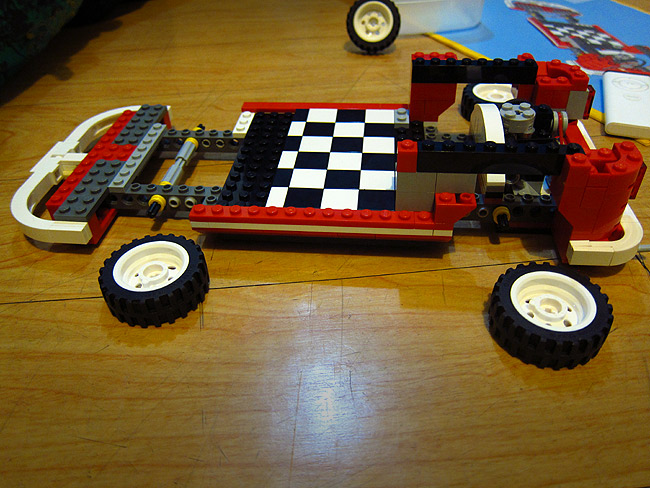
Now it's time for what I think is the most interesting part of this build: the interior. This is where you see how clever you have to be to become a designer over at Lego. With each step, I am constantly amazed. There is so much creativity at work here.
Underneath the cuteness of it all is engineering, to ensure that each of the structures is strong. If you've built a Lego set before, you will see it work, especially here. Not only does this model have to look cool, it should also be structurally sound.
(Read: Lego project: VW Camper, Part 1)
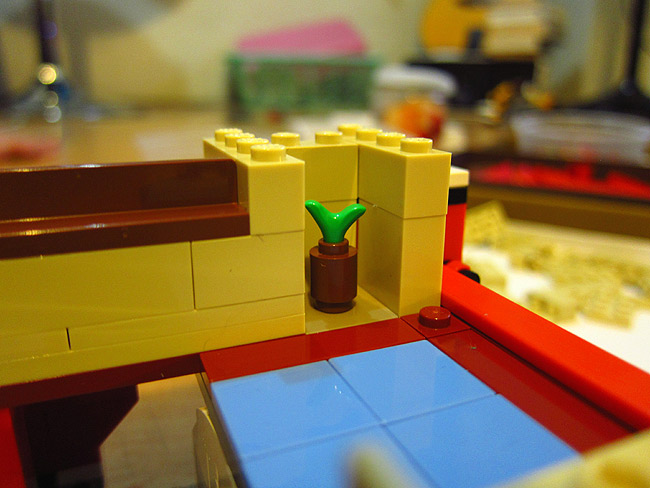
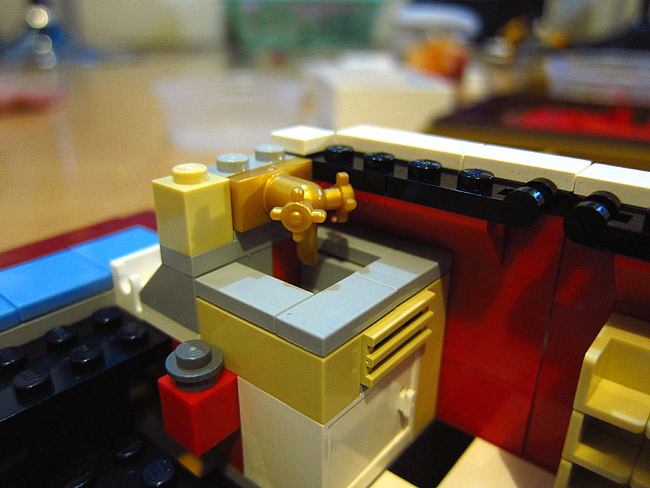
I love the black-and-white floor, the reclining seat, the wash basin, and the pull-up table. Can you spot the lava lamp and the potted plant?
As you move along, the panels get higher and higher, and then the windows and the doors come in. You also get some plaid curtains. My wife loves this unique detail, and I must say that it makes the interior quite homey.
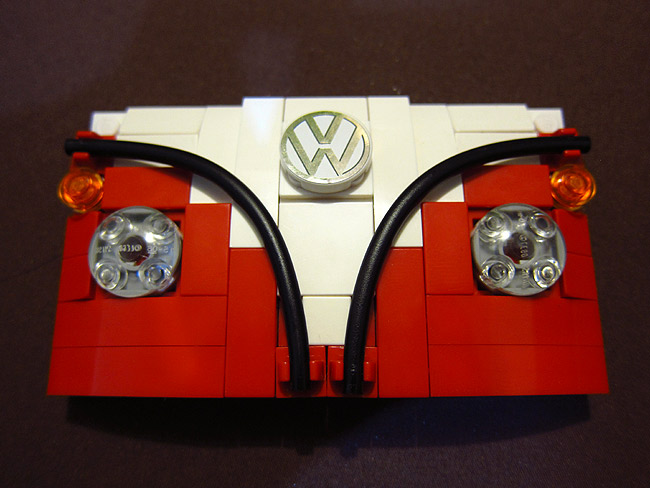
We are almost at the end of the instruction booklet, and I can't wait to show you the final product. I will be back soon! Thank you for reading! Check out the photos below.
(Read: Lego project: VW Camper, Part 2)
Photos by Paulo Rafael Subido
